
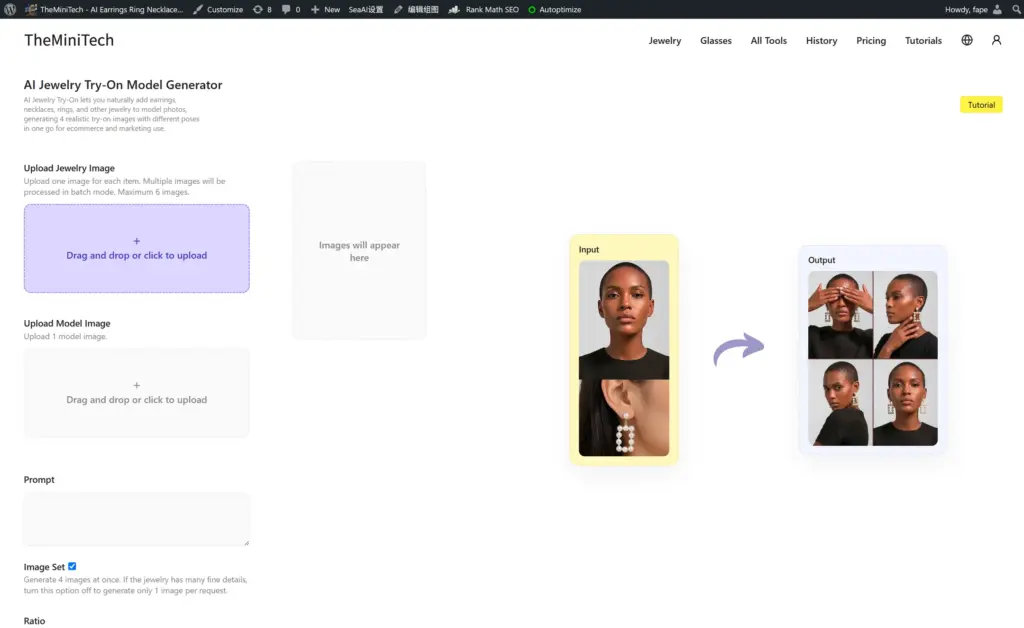
The AI Jewelry Try-On Model Generator places earrings, necklaces, rings, and other jewelry products naturally onto a model photo. When Set mode is enabled, it generates four consistent wear images with different angles and views, making it useful for product listings, ecommerce pages, ads, and social media.
This AI Jewelry Try-On Set Tutorial explains how to prepare product and model images, enable Set mode to generate four consistent try-on images, and choose the right workflow for complex jewelry or multiple products.
When Should You Use AI Jewelry Try-On Set Mode?
Set mode is ideal when you need a small collection of consistent jewelry try-on images quickly. It creates four results around the same model and product with different angles or views, so you can use them together on product pages, social posts, and ad creatives.
If you need the highest possible resolution, product accuracy, or close inspection of a complex piece of jewelry, turn Set mode off and generate one image first. Single-image mode is often better for detailed stones, chains, settings, metal textures, and other fine features.
Step 1: Upload Your Jewelry Product Image
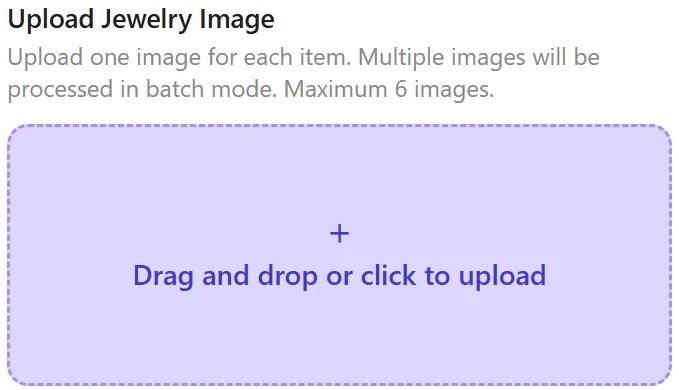
Upload the jewelry product you want to place on the model. Click the plus icon or drag the image into the upload area. Worn or hand-held product images usually give the AI a better sense of scale; with a plain white-background product image, the final proportion may look less natural.
Use a clear, complete JPG or PNG product image. A source image with a long edge of about 1,000 to 2,000 pixels is generally enough for the AI to recognize the jewelry's shape, material, and details.
Does Uploading Multiple Product Images Activate Batch Mode?
Yes. With one product image, the tool combines that jewelry with the model image. Uploading multiple product images automatically activates batch mode, which pairs each product with the same model image in sequence: Product 1 plus the model, Product 2 plus the model, Product 3 plus the model, and so on.
Batch mode processes multiple products. Set mode controls whether each product produces four different views or one single image. The two options can work together, but they solve different production needs.
Step 2: Upload a Person or Model Image
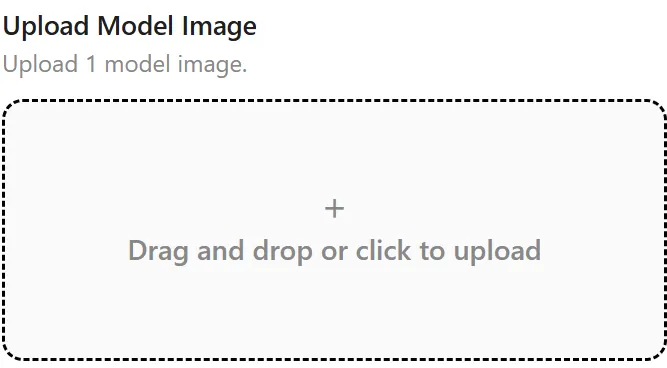
Choose a clear model image with natural lighting and no obstruction over the wearing area. The person does not have to be shown from the face; a close-up or partial image can also work. Images in which the person is already wearing jewelry can be used as well.
- For earrings, the ears should be clearly visible.
- For necklaces, keep the neck and upper chest area visible.
- For rings, make sure the hand and fingers are clearly visible.
Step 3: Enable Set Mode to Generate 4 Consistent Wear Images
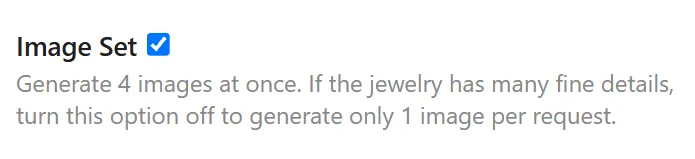
When the Set mode option is enabled, the tool automatically generates four jewelry wear images from different angles or views. This is the core workflow in an AI Jewelry Try-On Set Tutorial: quickly creating a visually consistent image set around the same model, product, and overall style.
When Set mode is disabled, the tool generates one image from the model's current angle. Single-image mode usually offers higher resolution and accuracy, so it is the better choice when you need to inspect fine details such as gemstone settings, chains, metal textures, or intricate craftsmanship.
Step 4: Generate and Review the Results
After uploading the images and choosing a mode, start generation. Review the jewelry structure, gemstone and metal details, placement, scale, and edge blending when the results are ready.
If the jewelry is distorted, out of proportion, or positioned unnaturally, replace the product or model image with a clearer source and test single-image mode first. Once the single result is stable, use Set mode or batch mode to create more images.
Tips for Better AI Jewelry Try-On Image Sets
- Use a clear product image with the complete jewelry piece visible and unobstructed.
- Enable Set mode when you need four consistent wear images.
- For complex or delicate jewelry, turn Set mode off and test one single image first.
- Prepare a model image with the relevant wearing area visible: ears, neck, upper chest, hands, or fingers.
- Before processing a batch, test one product image to confirm that the model image, scale, and placement work well.
Frequently Asked Questions
What is the difference between Set mode and batch mode?
Set mode creates four different views from the same inputs. Batch mode processes multiple jewelry product images, pairing each one with the same model image. Set mode answers how many images you need for each product; batch mode answers how many products you need to process.
Should I enable Set mode for complex jewelry?
For detailed jewelry with fine settings, gemstones, chains, or intricate metal textures, begin with Set mode off and generate one image. Single-image mode usually preserves fine details more accurately. Enable Set mode after confirming the result.
Does the model image need to show a face?
No. The relevant wearing area is what matters: visible ears for earrings, a visible neck and upper chest for necklaces, or a clear hand and fingers for rings.
Summary
To create a consistent AI jewelry try-on image set, upload a clear product image and a suitable model image, then enable Set mode to generate four views in one run. For intricate jewelry, begin in single-image mode to verify the fine details and scale; for multiple simple products, combine batch mode with Set mode to work more efficiently.
Open the AI Jewelry Try-On Model Generator to create your first jewelry try-on image set.